# Solana Wallet Example Code and Tutorial
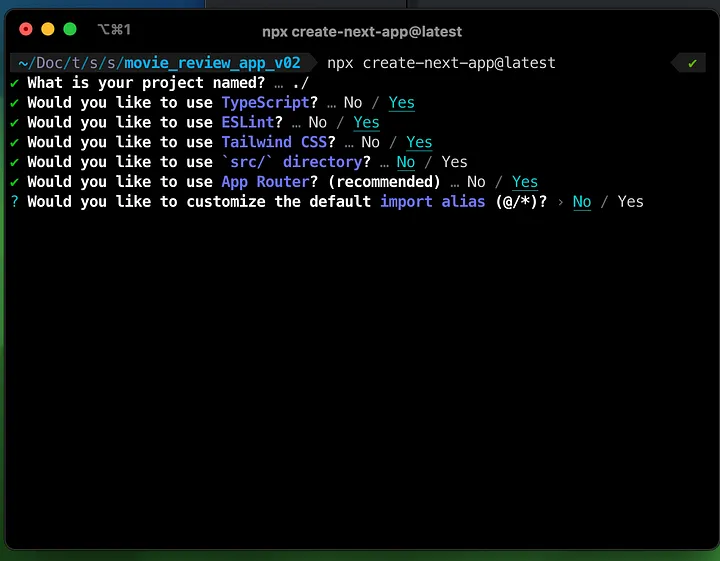
Step 1: Set up next.js application with tailwind css
```
npx create-next-app@latest
```
Nextjs initial setup
Initial File Structure:
Set up Now lets setup [shadcn](https://ui.shadcn.com/docs/installation/next) , Shadcn provides reusable components that compatible with tailwind css . Its a open source project.
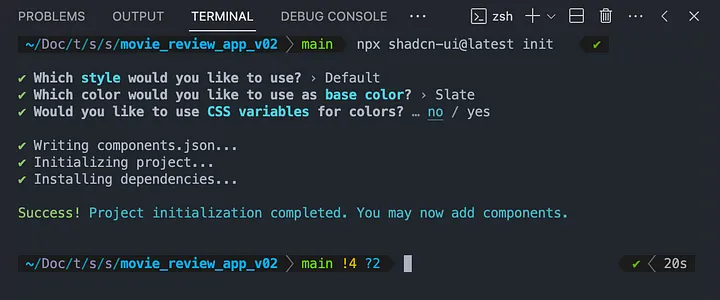
#### Run the CLI
Run the `shadcn-ui` init command to setup your project:
```
npx shadcn-ui@latest init
```
#### Configure components.json
You will be asked a few questions to configure `components.json`:
```
Which style would you like to use? › DefaultWhich color would you like to use as base color? › SlateDo you want to use CSS variables for colors? › no / yes
```
Copy
#### Fonts
I use [Inter](https://rsms.me/inter/) as the default font. Inter is not required. You can replace it with any other font.
Here's how I configure Inter for Next.js:
**1. Import the font in the root layout:**
```
import "@/styles/globals.css"import { Inter as FontSans } from "next/font/google" import { cn } from "@/lib/utils" const fontSans = FontSans({ subsets: ["latin"], variable: "--font-sans",}) export default function RootLayout({ children }: RootLayoutProps) { return ( ... )}
```
Copy
**2. Configure `theme.extend.fontFamily` in `tailwind.config.js`**
```
const { fontFamily } = require("tailwindcss/defaultTheme") /** @type {import('tailwindcss').Config} */module.exports = { darkMode: ["class"], content: ["app/**/*.{ts,tsx}", "components/**/*.{ts,tsx}"], theme: { extend: { fontFamily: { sans: ["var(--font-sans)", ...fontFamily.sans], }, }, },}
```
Copy
#### App structure
Here's how I structure my Next.js apps. You can use this as a reference:
```
.├── app│ ├── layout.tsx│ └── page.tsx├── components│ ├── ui│ │ ├── alert-dialog.tsx│ │ ├── button.tsx│ │ ├── dropdown-menu.tsx│ │ └── ...│ ├── main-nav.tsx│ ├── page-header.tsx│ └── ...├── lib│ └── utils.ts├── styles│ └── globals.css├── next.config.js├── package.json├── postcss.config.js├── tailwind.config.js└── tsconfig.json
```
Copy
* I place the UI components in the `components/ui` folder.
* The rest of the components such as `` and `` are placed in the `components` folder.
* The `lib` folder contains all the utility functions. I have a `utils.ts` where I define the `cn` helper.
* The `styles` folder contains the global CSS.
#### That's it
You can now start adding components to your project.
```
npx shadcn-ui@latest add button
```
Copy
The command above will add the `Button` component to your project. You can then import it like this:
```
import { Button } from "@/components/ui/button" export default function Home() { return (
)}
```
run
```
npx shadcn-ui@latest init
```
shadcn installing
### lets install npm libraries that will help us to create the wallet connector .
```
npm i @solana/wallet-adapter-react @solana/wallet-adapter-react-ui @solana/web3.js @solana/wallet-adapter-wallets @solana/wallet-adapter-base
```
at last lets add shadcn Dialog component .
```
npx shadcn-ui@latest add dialog
```
First lets create wallet connect context provider and wrap the enitre app.